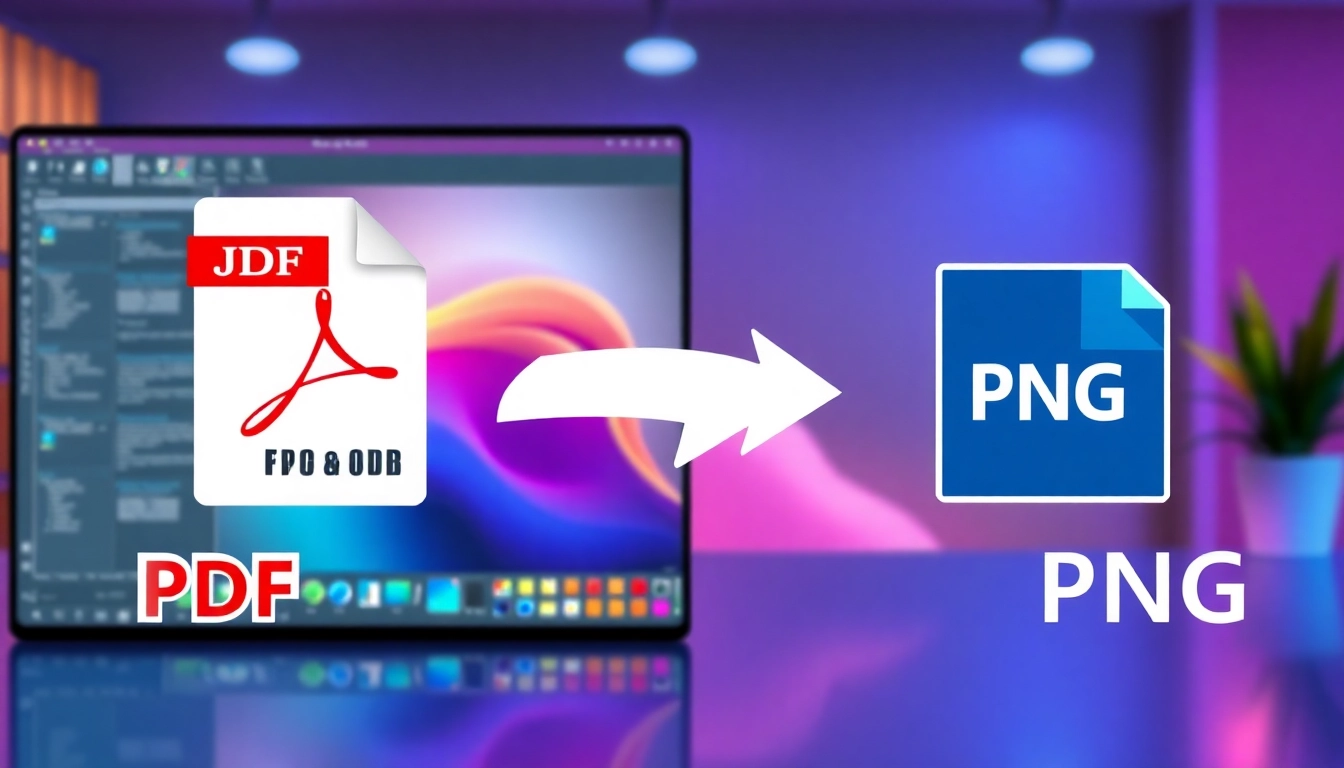
Introduction to PDF to JPG and PNG Conversion
Converting files from one format to another is a common task in our digital-based world. Among various conversion types, pdf to jpg and png is a critical process many individuals and businesses frequently undertake. As the digital landscape evolves, the need for flexible and efficient file formats becomes paramount, especially in contexts such as graphic design, document sharing, and online publishing. This article aims to provide a comprehensive guide on how to convert PDF documents to JPG and PNG image formats, detailing the benefits and processes involved.
Understanding the Basics of PDF Formats
The Portable Document Format (PDF) is a versatile file format widely used for sharing documents while preserving their formatting regardless of the platform or device used. Developed by Adobe in the early 1990s, PDFs are popular for their ability to encapsulate text, fonts, images, and vector graphics into a single file.
On the other hand, JPG (Joint Photographic Experts Group) and PNG (Portable Network Graphics) images serve different purposes. JPG files are especially favored for photographs and images with complex color gradations due to their small file size achieved through lossy compression. In contrast, PNG files are better suited for images requiring transparency and those that will undergo frequent editing, as they use lossless compression.
Why Convert PDF to JPG and PNG?
The need to convert PDF files to JPG or PNG formats arises from various practical considerations, such as:
- Image Editing: JPG and PNG formats are ideal for editing images, allowing designers to manipulate files in graphics software like Adobe Photoshop or GIMP.
- Web Optimization: JPG formats are significantly lighter, making them suitable for quick loading on web pages, while PNG supports image transparency, enhancing website design.
- Printing Purposes: JPG and PNG files can be printed easily at various sizes, providing high-quality results for brochures, posters, and other marketing materials.
Benefits of Using Online Conversion Tools
Online tools offer a range of advantages when converting PDF files to JPG or PNG. These platforms generally provide user-friendly interfaces, enabling users to convert their files quickly without needing extensive technical knowledge. Key benefits include:
- Accessibility: Most online converters are accessible from any device with an internet connection, allowing you to convert files on-the-go.
- Storage Saving: Online converters do not require software installation, conserving storage space on your device.
- Free Options Available: Many online tools offer free conversions, making it cost-effective for users who need to convert files occasionally.
Step-by-Step Guide to Convert PDF to JPG and PNG
How to Prepare Your PDF for Conversion
Before converting a PDF document to JPG or PNG, ensure the document is well-prepared. This involves reviewing the content and ensuring clarity. Steps include:
- Check PDF Quality: Verify that the PDF’s quality meets your expectations; poor quality results in low-quality images post-conversion.
- Remove Unnecessary Pages: If your PDF contains multiple pages, consider whether you wish to convert only specific pages or the entire document. This can help streamline the conversion process.
- Optimize for Size: Bulkier PDFs take longer to upload and convert, so consider optimizing the file size before conversion by removing unnecessary graphics or compressing the PDF.
Using Free Online Tools for Conversion
Various online tools can facilitate the conversion of PDF documents to JPG and PNG formats. Here is a straightforward process you can follow:
- Select an Online Converter: Choose a reliable online converter. Popular options include Smallpdf, iLovePDF, and Sejda.
- Upload Your PDF: Go to the converter’s website and upload your PDF by dragging and dropping the file or selecting it from your device.
- Choose Image Format: After uploading, select the output format (JPG or PNG) you wish to convert to.
- Adjust Settings: Some converters allow you to adjust settings such as image resolution and quality. Opt for higher quality if you need to retain image fidelity.
- Convert: Click the convert button and wait for the process to complete.
- Download Your Files: Once the conversion is finished, download your high-quality images to your device.
Tips to Ensure High-Quality Image Output
To maintain the highest image quality during the conversion process, consider the following tips:
- Use Lossless Formats when Necessary: If image quality is paramount, use PNG for images that require transparency or clarity.
- Avoid Over-Compressing: Be cautious with compression settings. Excessive compression could degrade image quality significantly.
- Preview Before Saving: If your chosen tool provides a preview option, utilize it to ensure the output meets your quality expectations.
Comparing JPG and PNG Formats
File Size and Quality Differences
File size is a critical factor when choosing between JPG and PNG formats:
- JPG: Typically much smaller than PNG files, JPG is preferable for photographs or images with gradients, as it strikes a balance between size and quality.
- PNG: Larger file sizes result from lossless compression, making PNG more suitable for images requiring high fidelity and transparency.
- Balancing Size and Quality: Depending on the need, you may opt for JPG for online use or PNG for high-quality prints.
When to Use JPG vs. PNG
Understanding when to use each format is essential for achieving optimal results. Consider these guidelines:
- JPG: Best used for photographs and images containing gradients. Ideal for website use where loading speed and file size matter.
- PNG: Recommended for logos, illustrations, and images that require transparent backgrounds or crisp lines.
Saving and Sharing Your Converted Files
Once converted, saving and sharing your files efficiently becomes crucial. Keep in mind:
- Organize Files: Use folders with clear naming conventions to manage your converted images easily.
- Cloud Storage: Use cloud services like Google Drive or Dropbox for easy sharing and access across devices.
- Embed in Documents: When using your converted images in presentations or reports, ensure they maintain quality at whatever size you use them.
Troubleshooting Common Conversion Issues
Resolving File Size Limitations
File size limitations can pose challenges during online conversions. Here’s how to address them:
- Split Large PDFs: If your PDF exceeds size limits, consider splitting it into smaller parts and converting them individually.
- Optimize Before Upload: Reduce the file size using compression tools before uploading to preserve upload time.
What to Do With Unsuccessful Conversions
Experiencing conversion failures can be frustrating. If you encounter issues:
- Check File Compatibility: Ensure that your PDF is not password protected, as this can hinder conversion processes.
- Try Alternative Tools: If one online converter fails, switching to a different tool often resolves the issue.
Maintaining Print Quality After Conversion
To ensure that your converted images are print-ready:
- Opt for High Resolution: Always select the highest possible resolution when converting.
- Review Color Profiles: Ensure the color profiles are suitable for printing to avoid discrepancies.
Conclusion: Best Practices for PDF to JPG and PNG Conversion
Choosing the Right Tools for Your Needs
The tool you select for conversion plays a significant role in the final output quality. Explore various converters, read reviews, and choose the one that meets your needs regarding quality, ease of use, and additional features.
Final Tips for Efficient Document Management
After successfully converting your PDFs, practice efficient document management techniques. Regularly back up your files, organize your digital workspace, and remain consistent in file naming conventions to streamline your workflow.
Encouragement to Explore Further Options
As technology progresses, new tools and methods for file conversion continue to emerge. Stay informed about the latest in document management and conversion technology to maximize productivity and enhance your overall digital experience.


